







Tutorial check-in and check-out
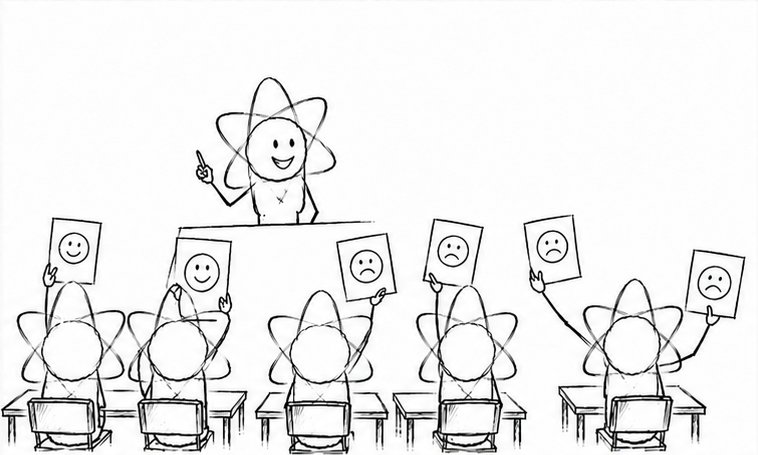
Start and end each tutorial with a brief, interactive plenary activity to check mood and understanding and to set focus for the session.
Teaching complexity
Once you have a few recurring check-ins prepared, it is easy to repeat and adapt them across the course.
Why it works
Students can experience tutorials as “homework time”, glued to their laptops with little peer or lecturer interaction. Short plenary check-ins and check-outs create contact, surface (mis)understanding and energy levels, and help students feel welcome and acknowledged. The aim is to activate prior knowledge, increase engagement, peer interaction, and student-lecturer interaction.
Five step plan
- Map your tutorials: Check which lecture or topic each tutorial links to and where it falls in the schedule (day/week/course), for example via Datanose, rooster.uva.nl or your own timeline.
- Design fitting check-in: Choose a brief activity that matches the topic and group energy; aim for a format where all students can answer and that suits you or the TA hosting the session.
- Open with check-in: Start the tutorial by welcoming everyone there and appreciating their presence. Then start plenary with the prepared check-in and invite a few students to elaborate on surprising or interesting answers.
- Respond to signals: Use responses to decide whether to give a short plenary explanation or a small-group mini-lesson. If the energy is low, acknowledge it, set realistic goals for the work phase, encourage peer discussion, and clearly transition to working on assignments while announcing the check-out time.
- Close with check-out: In the last 5 minutes, do a short check-out: Ask whether students feel they made progress, highlight what you observed (e.g. calculations, discussions, creative ideas), link back to the check-in, and give concrete advice for the next lecture or extra practice. For a template of a tutorial lesson plan, including tips and tricks, see this document.
None or formative: If exam-style questions are used for quizzes, students can gauge where they stand in learning the material.
Any. Best would be U-shape or small groups.
- With new groups (e.g. first course of the year or electives), use the check-in as a get-to-know activity. Allot a bit more time in the first tutorial.
- For sensitive “I find this difficult” questions, use Wooclap or something similar for anonymity and always follow up with some spoken interaction to avoid total silence.
- In courses with multiple parallel groups and TAs, each group may use different check-ins/check-outs as long as they support the same course goals.
- Give the format a recognisable personal touch (e.g. recurring picture, theme, brief prize question, or news item) and reuse it each tutorial or around breaks to create routine and re-boost attention when concentration dips.
- Optional: Laptop and Wooclap for anonymous responses.
Key advice
Choose check-in and check-out formats that fit your personal style so you can lead them confidently, whether that is a simple quiz, a short reflection question, or a brief breathing exercise.