


Studio REC A
The studio
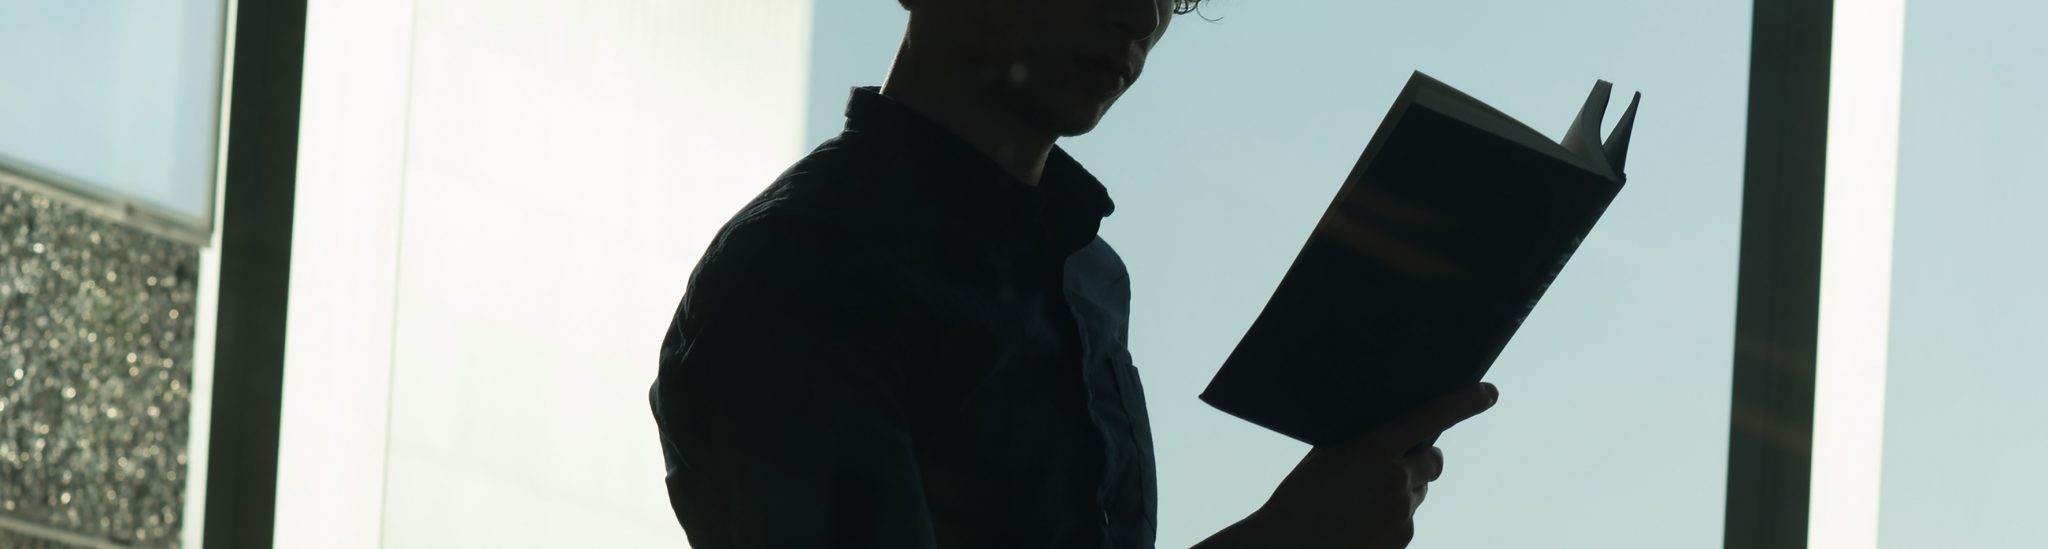
Do you want to create high-quality educational videos or podcasts? The ICTO team can help you to produce professional content for your education to support your teaching.
Book the studio:
Are you a teacher from the Law Faculty? You can book via
Schedule a session
Record a professional educational knowledge clip with support from the ICTO team.
Why record knowledge clips?
-
Saves time in class, so you can focus on discussion and case analysis instead of transferring basic information.
-
Ensures every group receives the same clear explanation.
-
Makes your teaching more inclusive (subtitles, replay, flexible pace).
-
Creates self-study opportunities and gives students more autonomy in their learning process.
-
Allows you to build reusable material for future courses.
With this studio you can:
-
Record, capture, share and reuse high-quality knowledge clips.
- Use professional cameras, microphones and lightning.
-
Use a teleprompter if needed.
-
Receive full technical support from the ICTO team.
- Receive educational support from the TLC team for your blended design
Record a professional podcast or vodcast with support from the ICTO team.
Why use the podcast/vodcast studio?
-
Engage students through conversation, examples and expert interviews.
-
Strengthen understanding by explaining legal reasoning in a more narrative, accessible format.
-
Offer students a flexible way to learn, on the train, during a walk, or while reviewing.
-
Make learning more personal and reflective by talking through complex ideas.
-
Build reusable audio and video material for future courses.
With this studio you can:
-
Record high-quality podcasts and vodcasts (audio and video).
-
Invite guests, colleagues, co-lecturers or students for interviews or discussions.
-
Use professional microphones, cameras and lighting.
-
Receive full technical support from the ICTO team.
- Receive educational support from the TLC team for your blended design
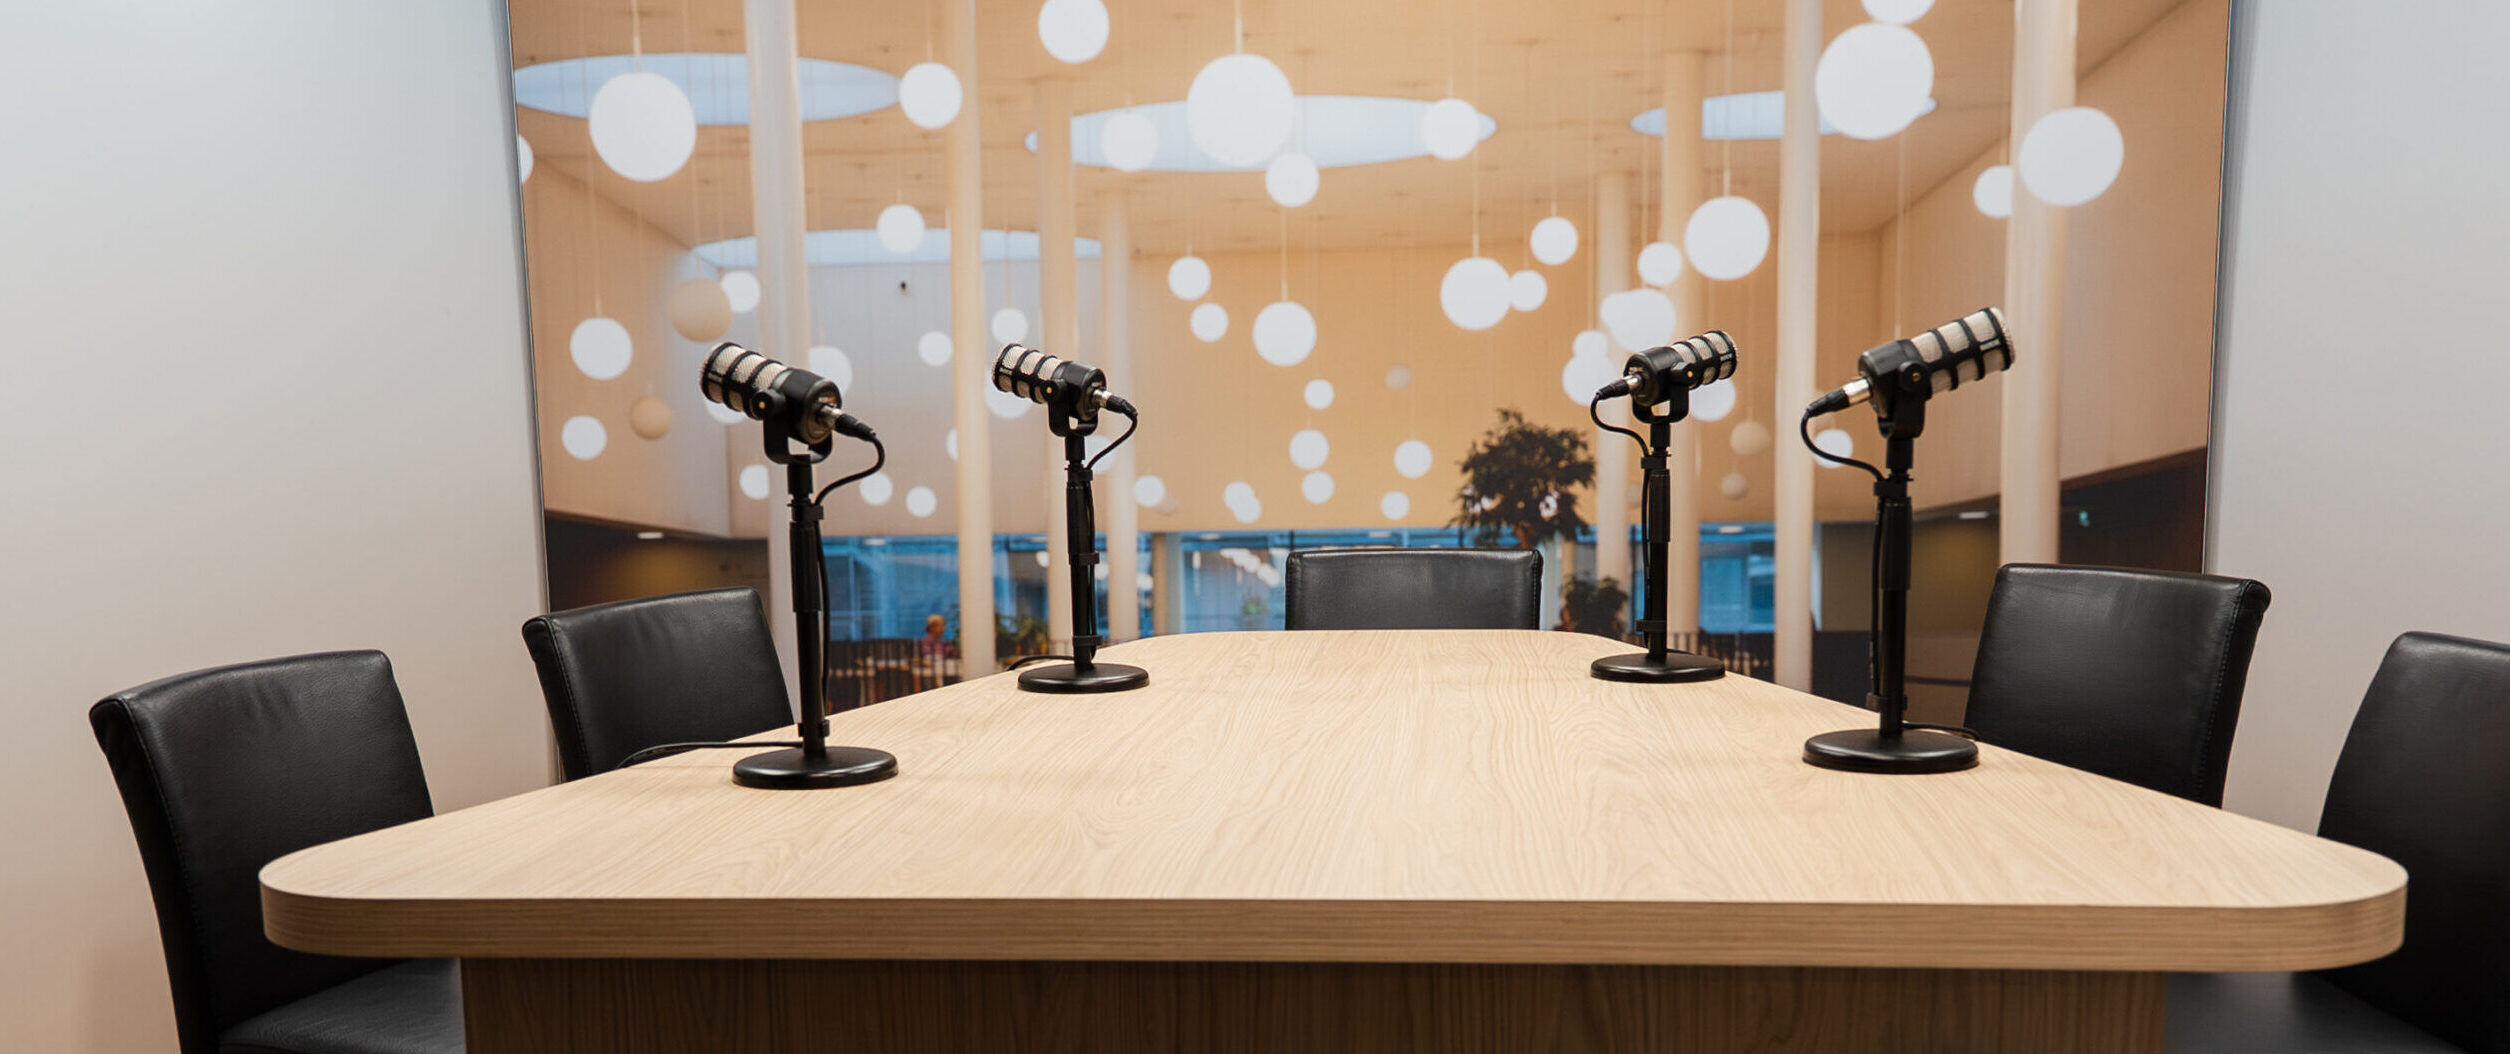
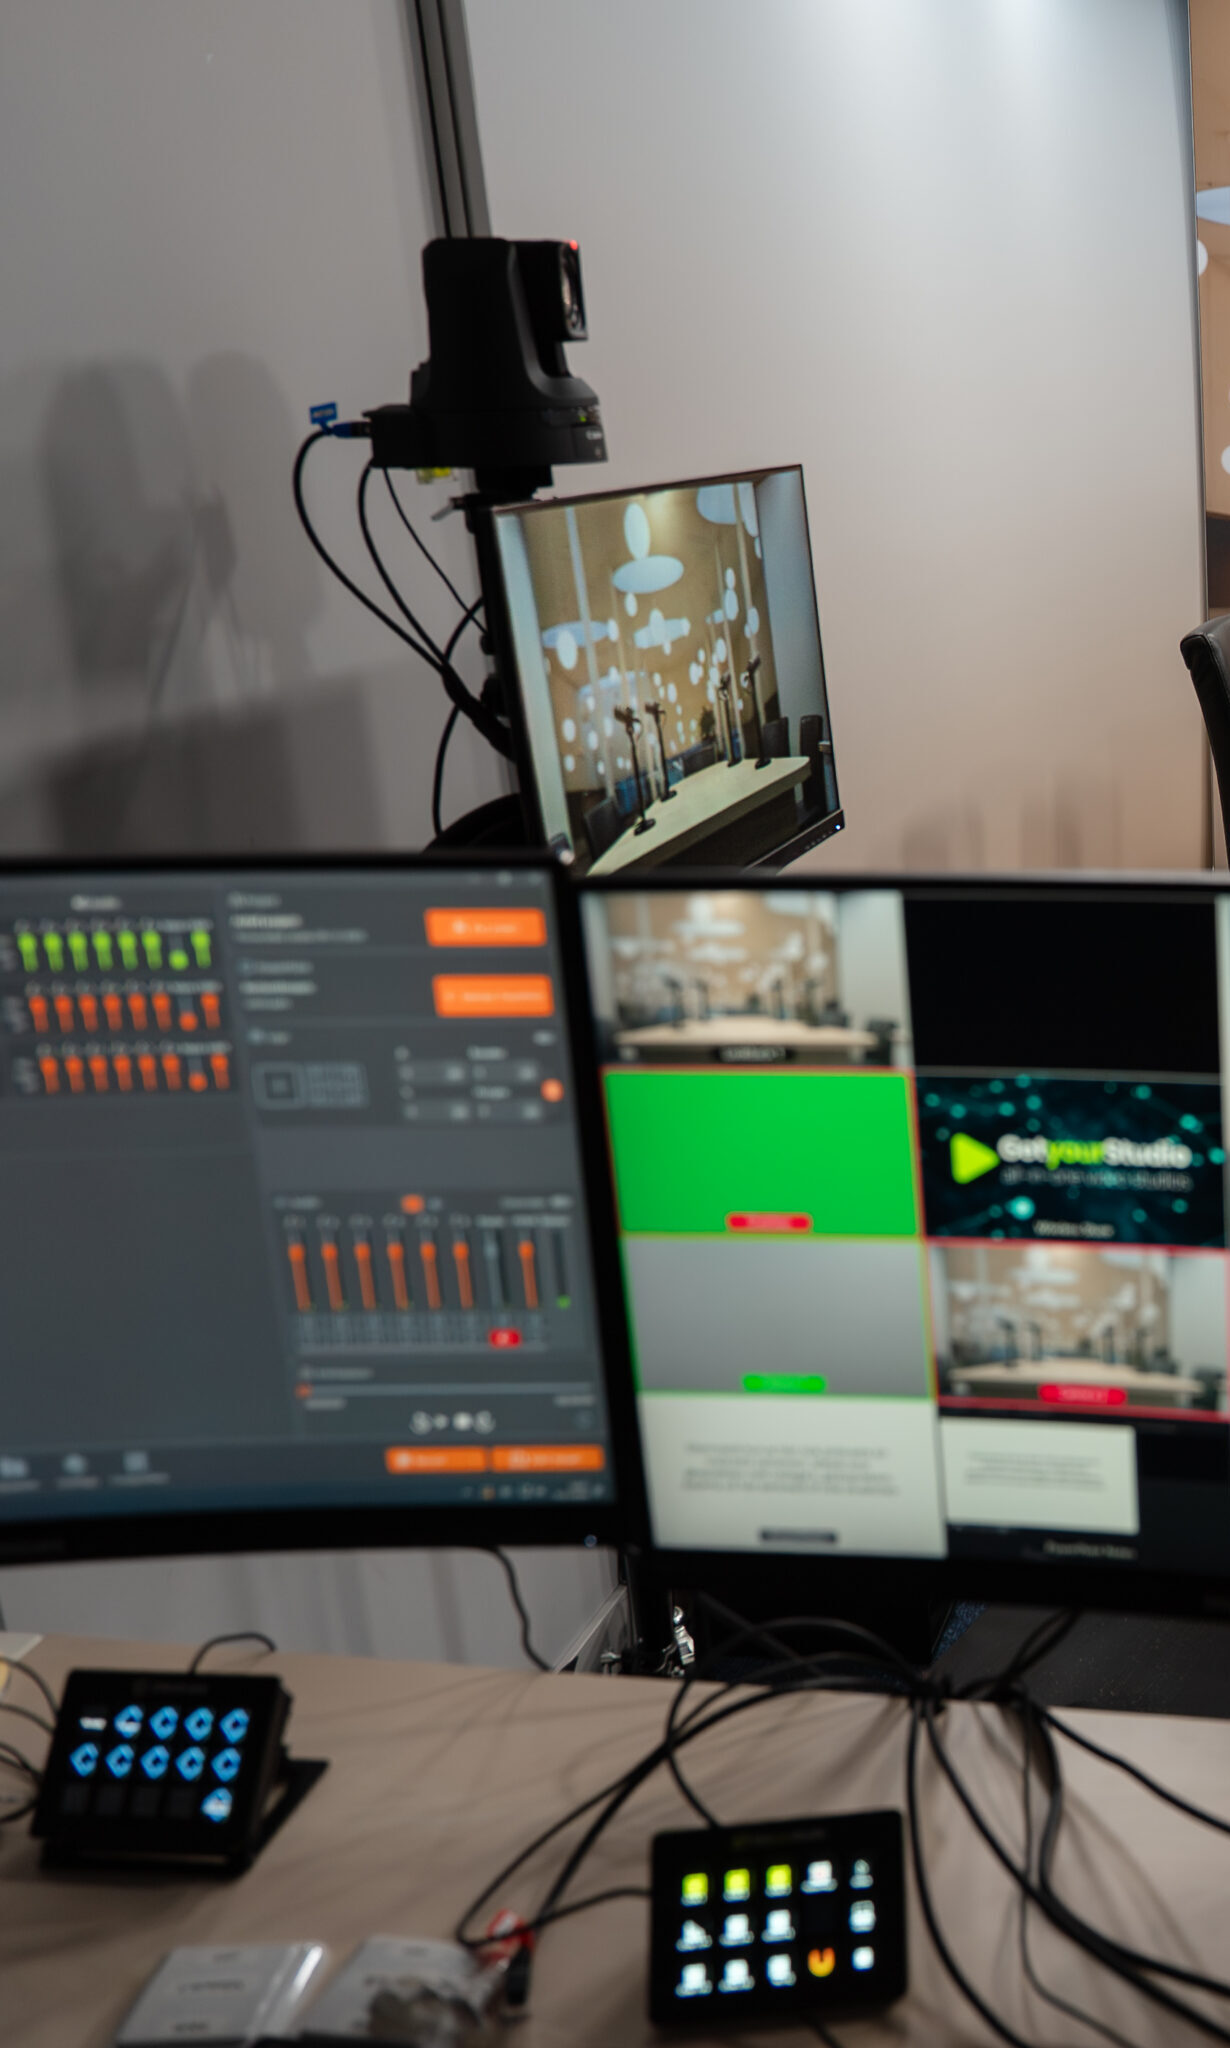
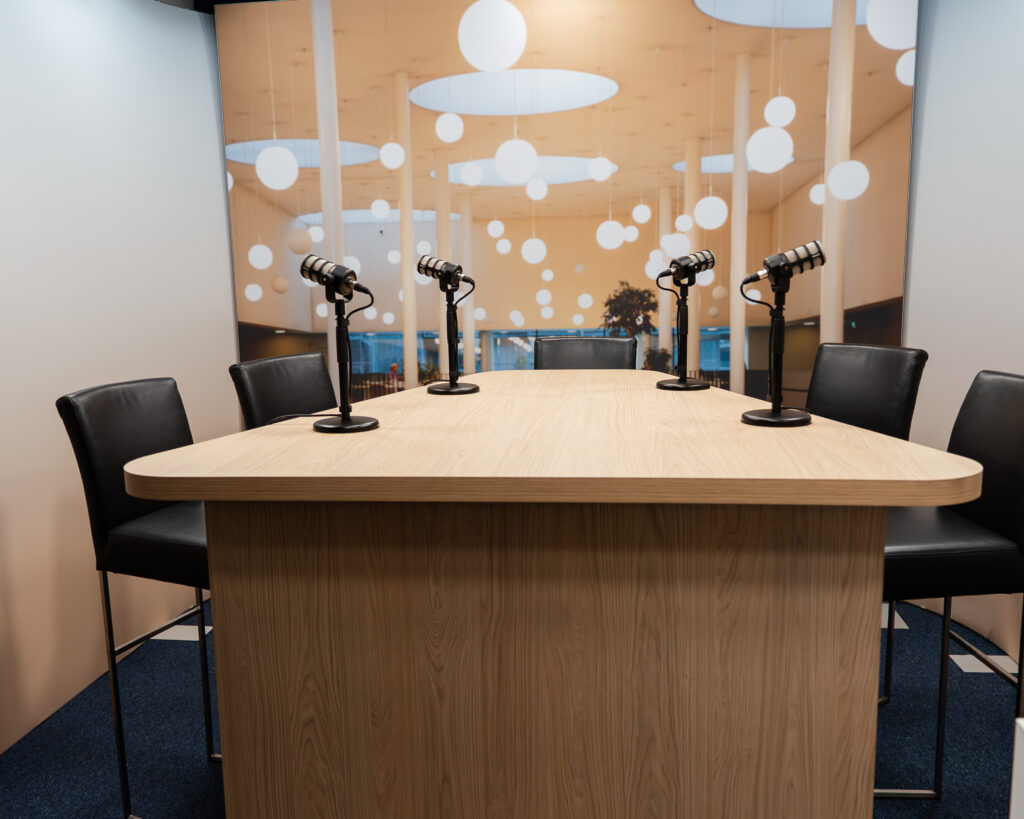
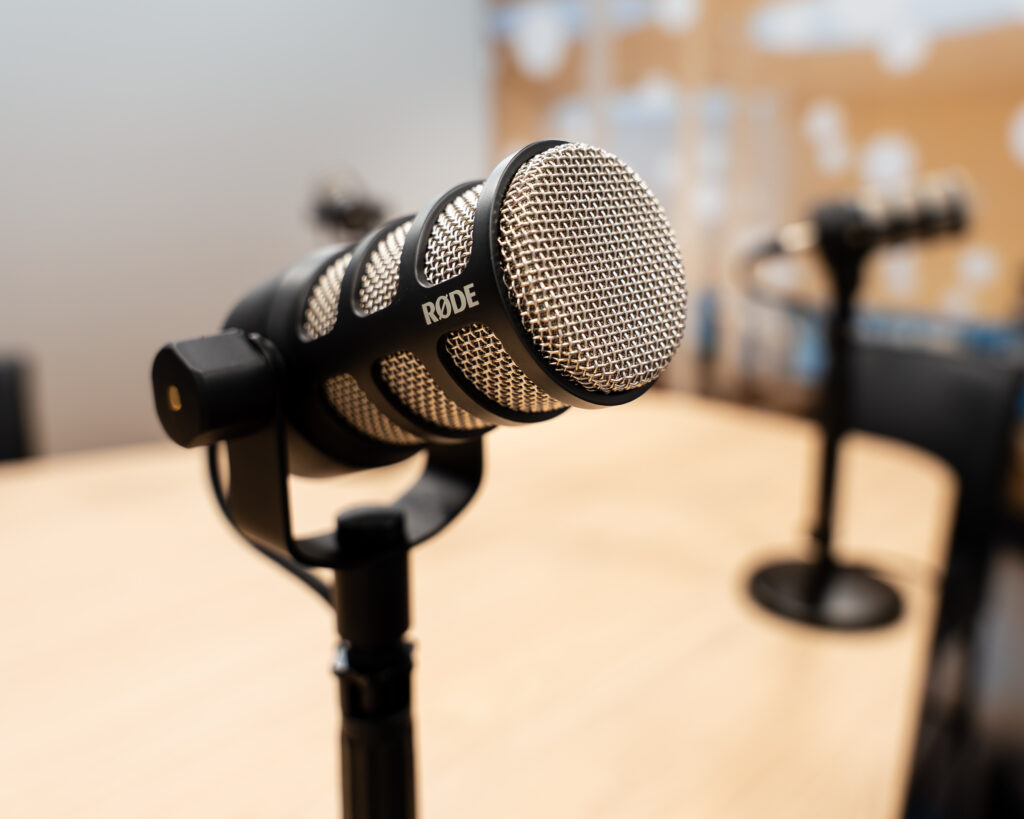
In-studio recording
Our studio at REC A 7.03 is fully equipped for professional recordings.
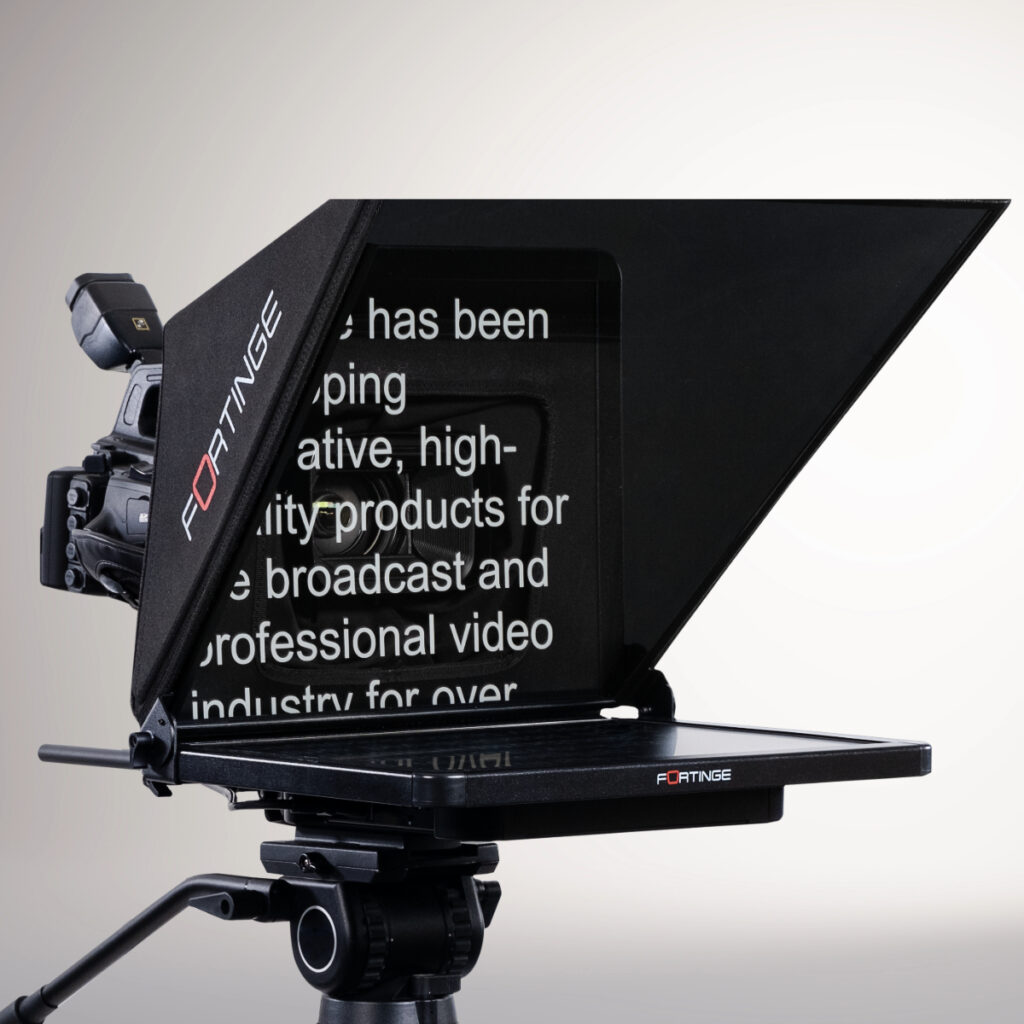
The teleprompter lets you see your slides while looking directly into the camera. You can also use the teleprompter to read from a prepared text.

Discrete and professional microphones for excellent sound in video recordings.
Useful sources:
- Donwload the Powerpoint Template: Templafy
- Download the right logo: UvA-logo – Universiteit van Amsterdam
- Download a Template storyboard
- Follow the e-learning: The didactics behind effective knowledge clips:
- ‘Think about it Checklist‘ – You may realise there are more options for clips that will enhance your course than you first thought!
Tips for creating effective educational videos
Before making your own video, check if a suitable one already exists on platforms like YouTube or Kaltura.
Don’t try to explain everything in one video. Use videos to complement other teaching methods e.g., let students read a text first, and use the video to give context, examples, or make connections. Or use the video as a starting point for an in-class discussion.
Use quizzes or short assignments after the video to keep students engaged and thinking.
Aim for videos between 5 and 20 minutes. Split longer content into shorter chunks.
Try to focus and cover the core of a topic. If you have a large amount of information to convey, it’s better to record several shorter videos. The goal of the knowledge clips should be for students to store the information in their long-term memory, but for this to happen, it first has to go through their working memory. Because working memory is limited, long videos with a lot of information can quickly lead to cognitive overload. A knowledge clip longer than 7 minutes decreases in effectiveness.
When making multiple videos, start and end each one in the same way. E.g. start each video with a clear learning goal or question, and end with a brief summary to help students stay oriented.
Students often watch videos in small windows, so keep slides simple and readable:
- Use font size 28 or larger
- Prefer visuals over text
- Avoid clutter like logos, slide numbers, and dates
- Use a neutral background
- Choose the 4:3 aspect ratio for better visibility next to the presenter
Avoid course-specific details (like “this will be explained in the tutorial on Thursday”) and don’t number your videos. This keeps them useful across years and courses.
You don’t necessarily need a full script, but plan your message. Jot down beforehand key points and transitions to keep your story clear and organized. If you do want to use a script, you can use this video script template.
The beginning of a knowledge clip is crucial. Students need to understand the clip’s purpose and have an incentive to watch it to the end. You can start with a teaser, a practical application, a question, etc. Provide a summary at the end of the clip and conclude with a call to action to motivate students to continue with the topic after the clip.
If you make a mistake or slip of the tongue while recording the knowledge clip, make sure to pause and then resume from the point just before the mistake. This way, you can easily edit out the mistake later and avoid having to start over.