


TLC Science Video studio
| The TLC Science Video studio at Science Park is the perfect place to create high-quality educational videos or podcasts. The TLC Science Video & Audio Service supports you for free, guiding both the didactic and technical aspects of the production process to create effective, professional educational content. | 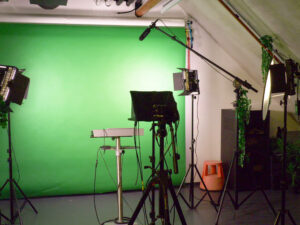 |
Enhance your teaching with high-quality videos or podcasts
Video and audio can boost student engagement, support active learning, and help students prepare more effectively.
Receive free support
We’ll take care of recording and editing your video or audio. We can also help you structure your story, assist with writing scripts (if you want one), and offer advise on how to use video effectively in your course.
Our studio at Science Park (room B1.48b) is fully equipped for professional recordings. Recording is free of charge for lecturers when the content is used for education within the Faculty of Science or Amsterdam University College. (Note: in case of extensive use, a fee may apply.)
Contact us
Do you want to record a video in the studio or in a lab room? Need advice about video development or the implementation of videos in a course? Please contact Edwin van Lacum (e.b.vanlacum@uva.nl).
FAQ and options
Present with your own PowerPoint slides (or other visuals) shown behind you.

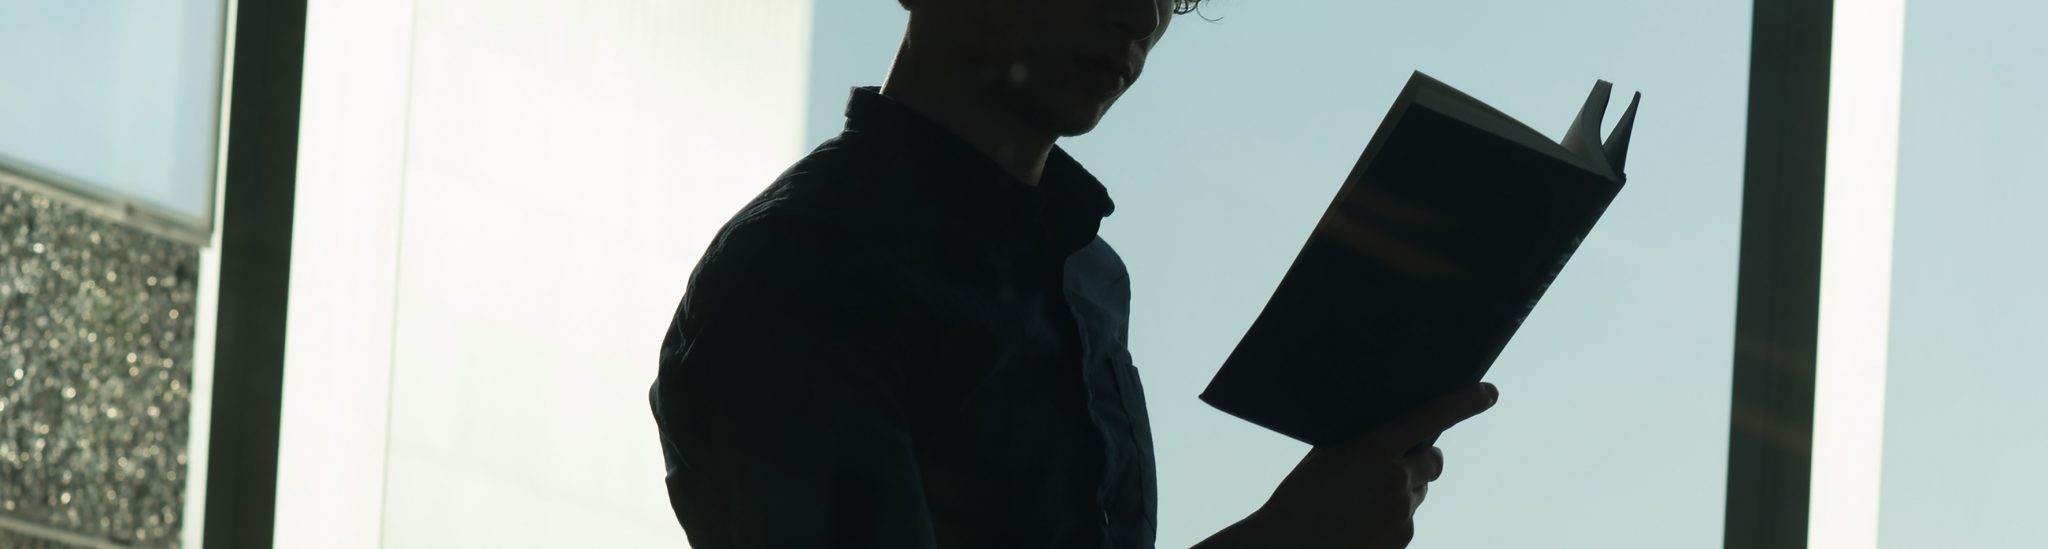
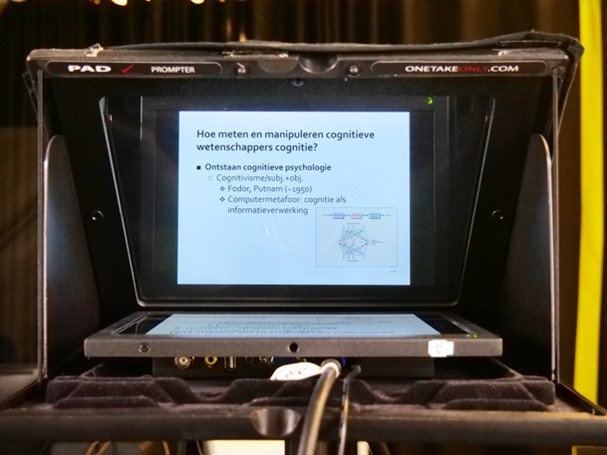
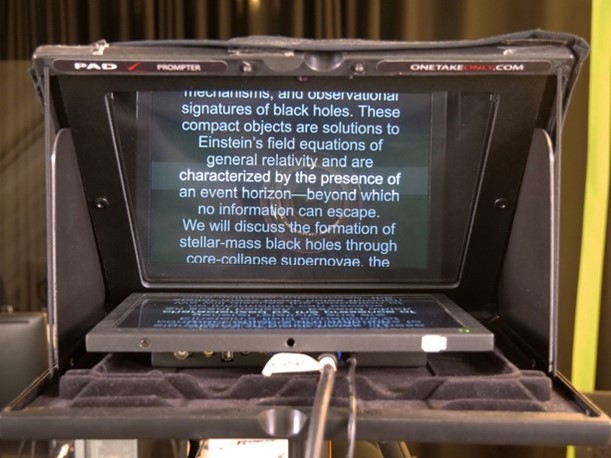
The teleprompter lets you see your slides while looking directly into the camera. You can also use the teleprompter to read from a prepared text.
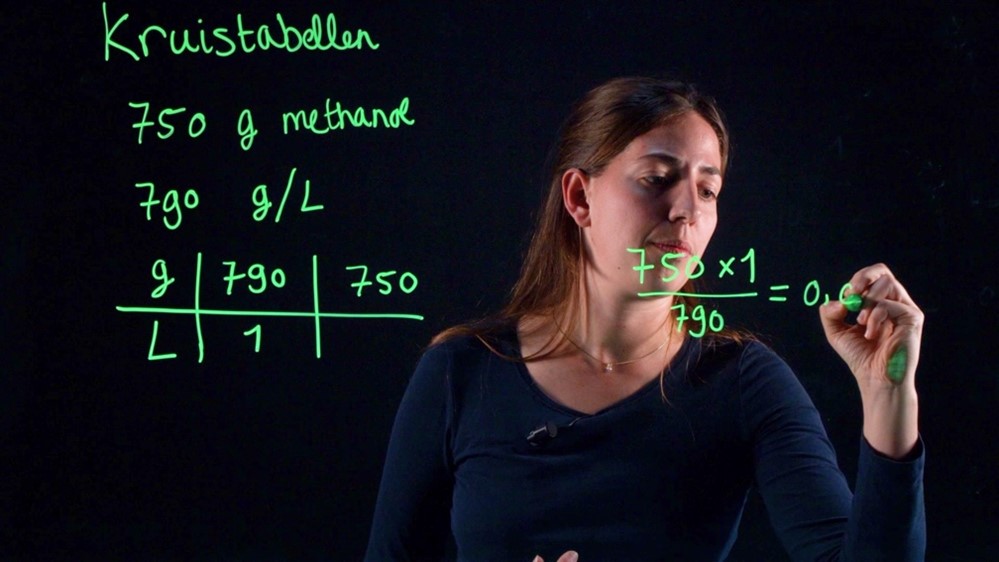
Write formulas, diagrams, or key points on a transparent board with a fluorescent marker, all while facing the camera.
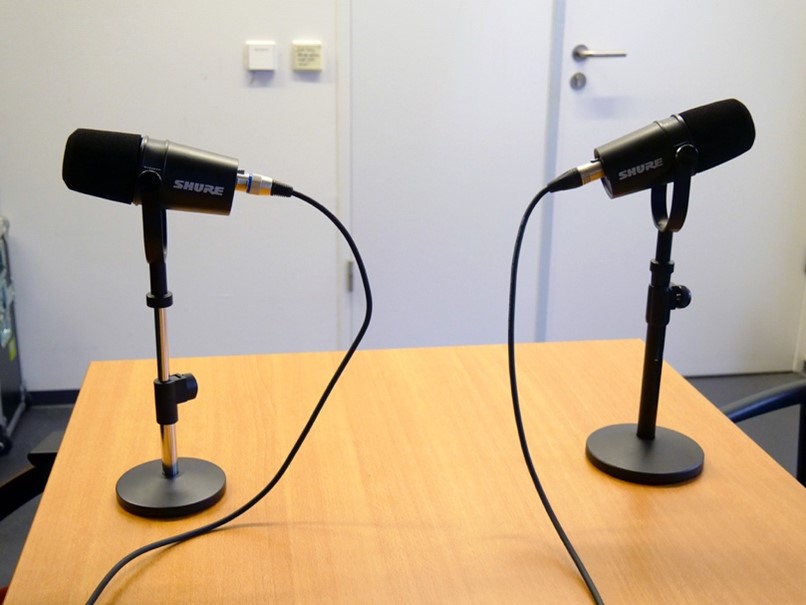
Discrete and professional microphones for excellent sound in video recordings.

Two studio microphones for clear, high-quality audio.
Tips for creating effective educational videos
Before making your own video, check if a suitable one already exists on platforms like YouTube or Kaltura.
Don’t try to explain everything in one video. Use videos to complement other teaching methods—e.g., let students read a text first, and use the video to give context, examples, or make connections. Or use the video as a starting point for an in-class discussion.
Use quizzes or short assignments after the video to keep students engaged and thinking.
Aim for videos between 5 and 20 minutes. Split longer content into shorter chunks.
When making multiple videos, start and end each one in the same way. E.g. start each video with a clear learning goal or question, and end with a brief summary to help students stay oriented.
Students often watch videos in small windows—so keep slides simple and readable:
- Use font size 28 or larger
- Prefer visuals over text
- Avoid clutter like logos, slide numbers, and dates
- Use a neutral background
- Choose the 4:3 aspect ratio for better visibility next to the presenter
Avoid course-specific details (like “this will be explained in the tutorial on Thursday”) and don’t number your videos. This keeps them useful across years and courses.
You don’t necessarily need a full script, but plan your message. Jot down beforehand key points and transitions to keep your story clear and organized. If you do want to use a script, you can use this video script template.
Green clothing will disappear when using a green screen!